
Sew a Mesh Car Organizer - Part 2

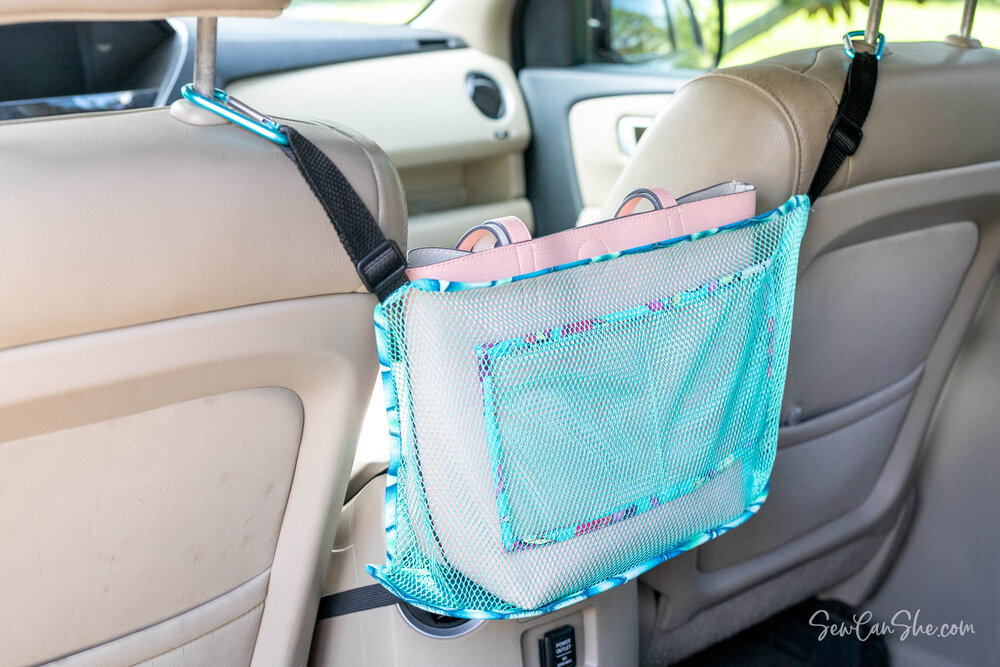
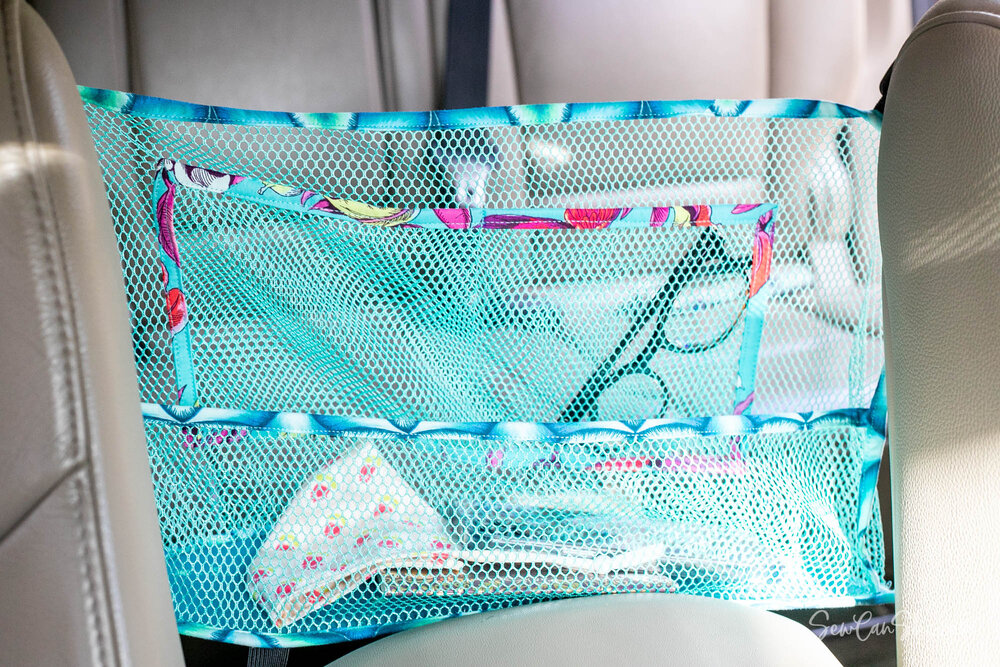
I’m showing everyone how to sew a useful organizer for your car so you’ll have a spot to hold your purse, phone, sunglasses - and everything else you need to keep handy. If you’ve reached this post, hopefully it’s because you are about 1/2 way done with your Mesh Car Organizer and you are going to finish it today!
If you haven’t begun yet, make sure you start at Part 1 of the free Mesh Car Organizer Pattern where you find the free pattern templates, materials list, cutting instructions, and the first half of the sewing tutorial.
So let’s finish our car organizers!
Prepare and Attach the Adjustable Upper Straps
1. Cut the 22’’ long piece of 1’’ wide webbing in half to make 2 pieces, each 11’’ long.
Tip: Use a lighter to melt the ends or apply fray check instead to prevent fraying as you work.
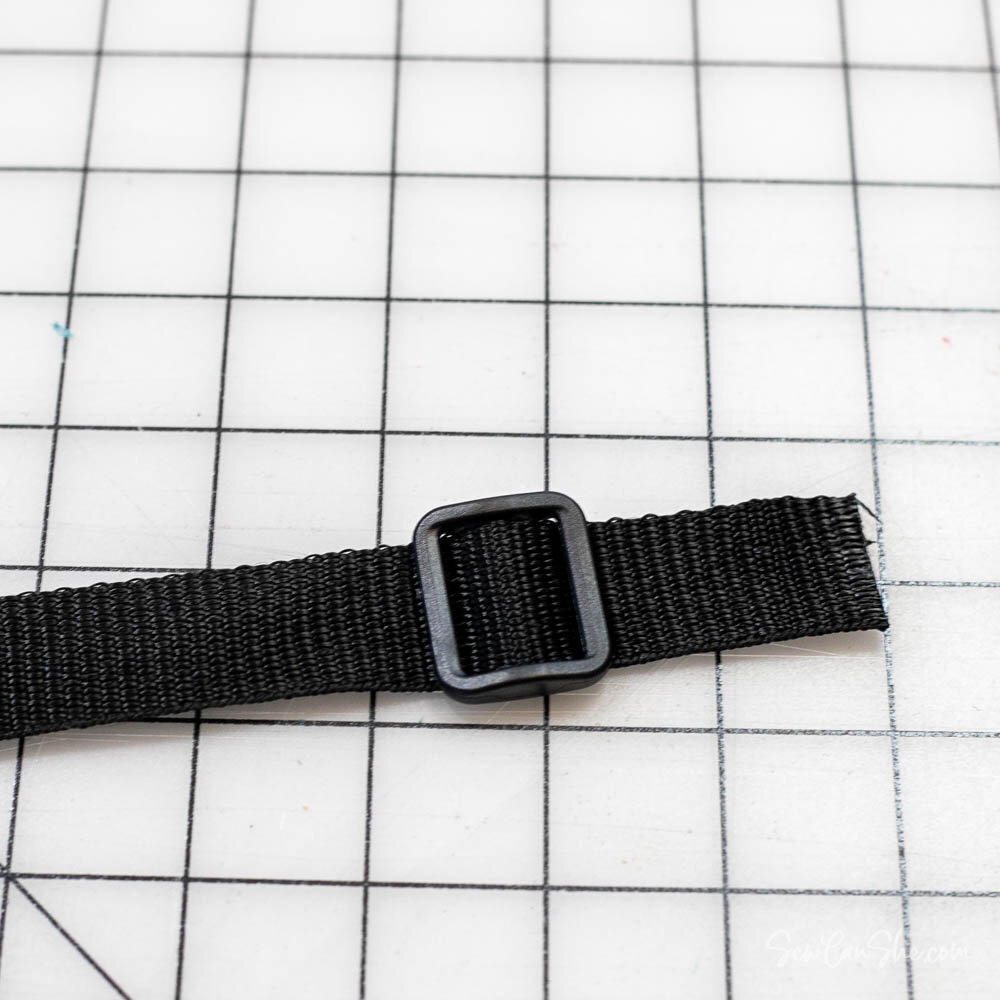
2. Push the end of one strap through both openings in a plastic triglide slide by about 1 1/2’’ - 2’’.
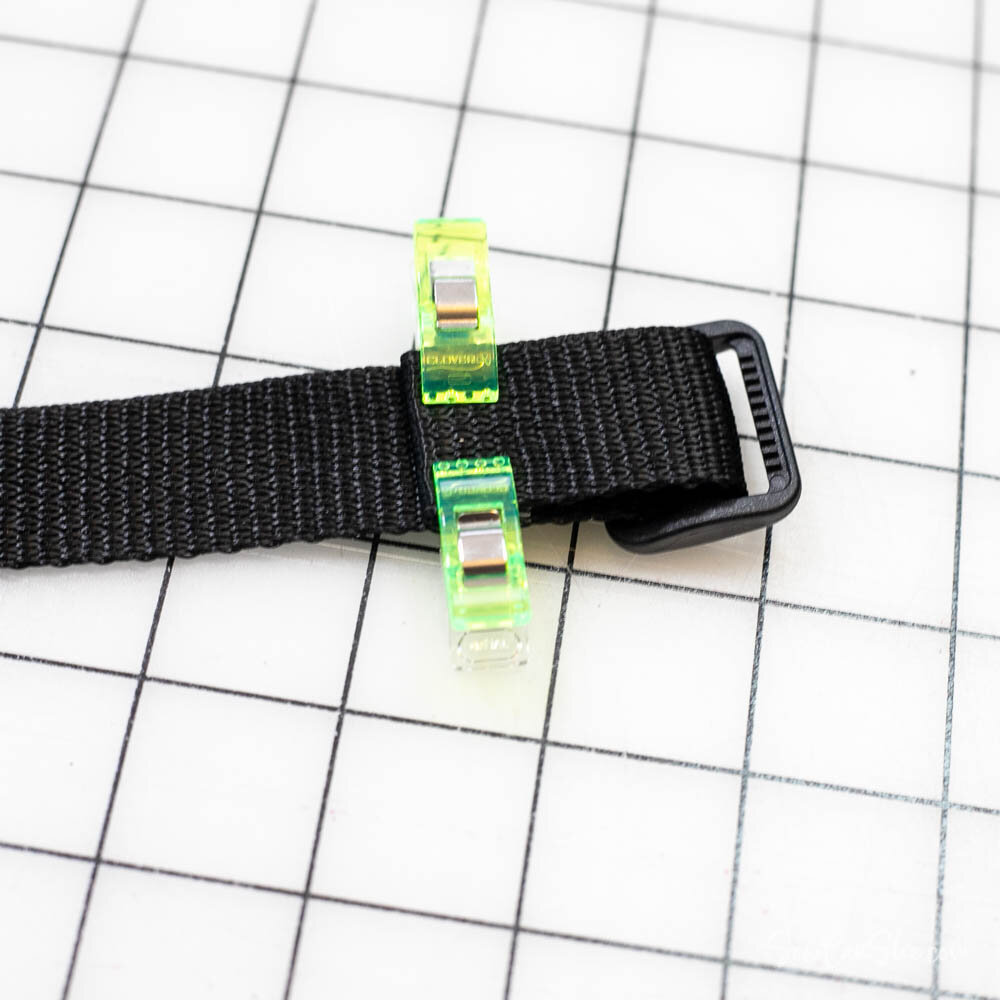
Then fold the end of the strap over onto it self on the back. Turn the cut end under by about 1/2’’ and secure with clips.
Tip: You can increase the distance between the triglide slide and the folded end of the strap if it makes it easier to sew.
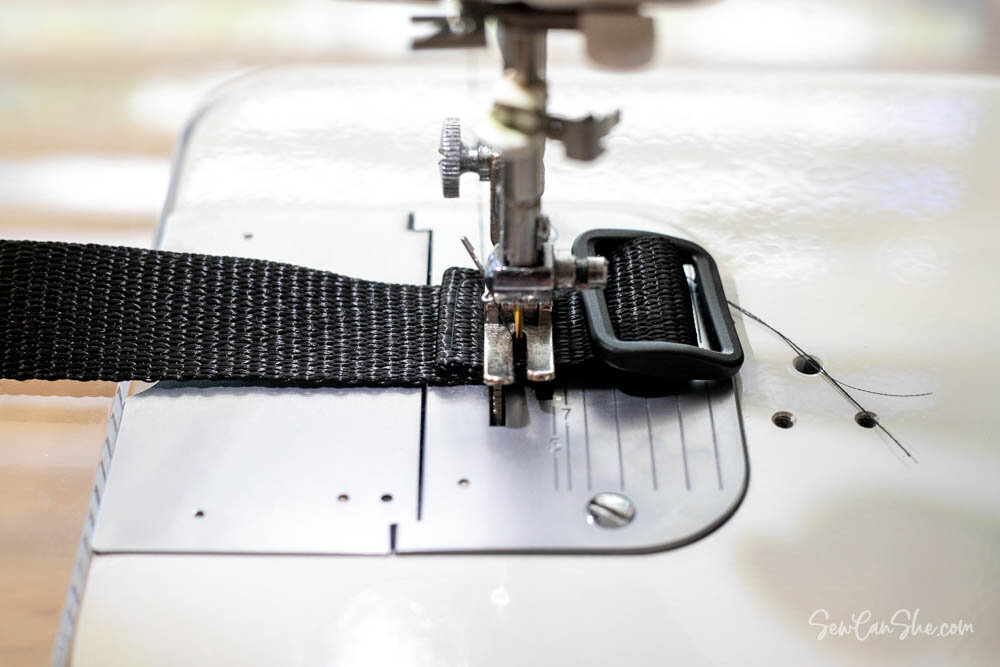
3. Sew in a small rectangle over the turned-under end of the strap to secure it well.
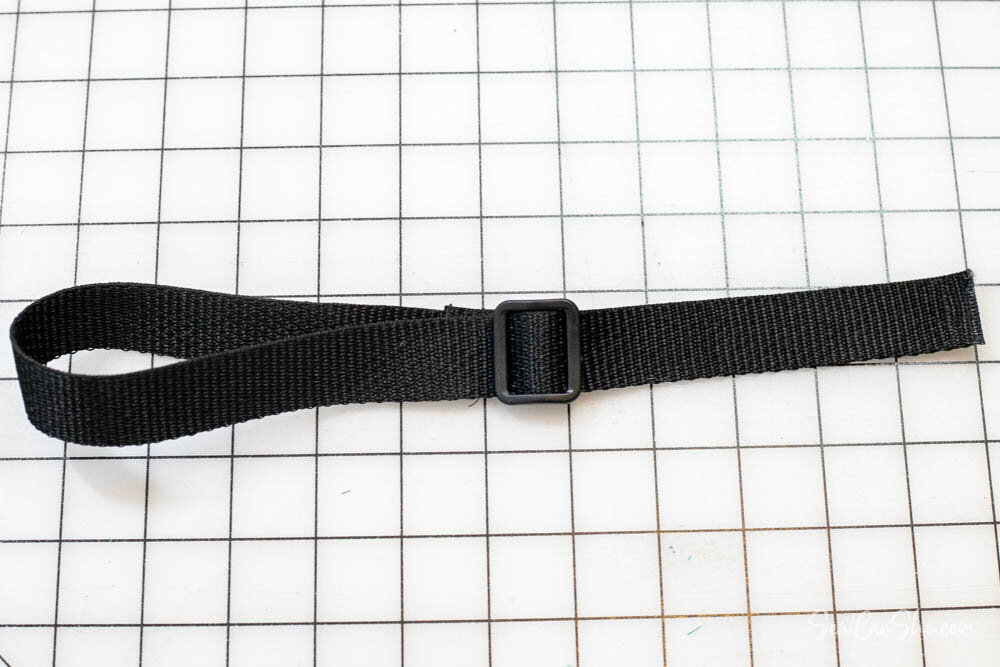
4. Thread the free end of the strap back through the slide OVER the folded edge that you just sewed (so that the folded edge is inside the loop.
Tip: A carabiner will be placed on this loop. We don’t need to attach it now, since it’s easy to attach it later. If you decided to use a different type of clasp that is not removable, you may need to slide it onto the webbing before making the loop.
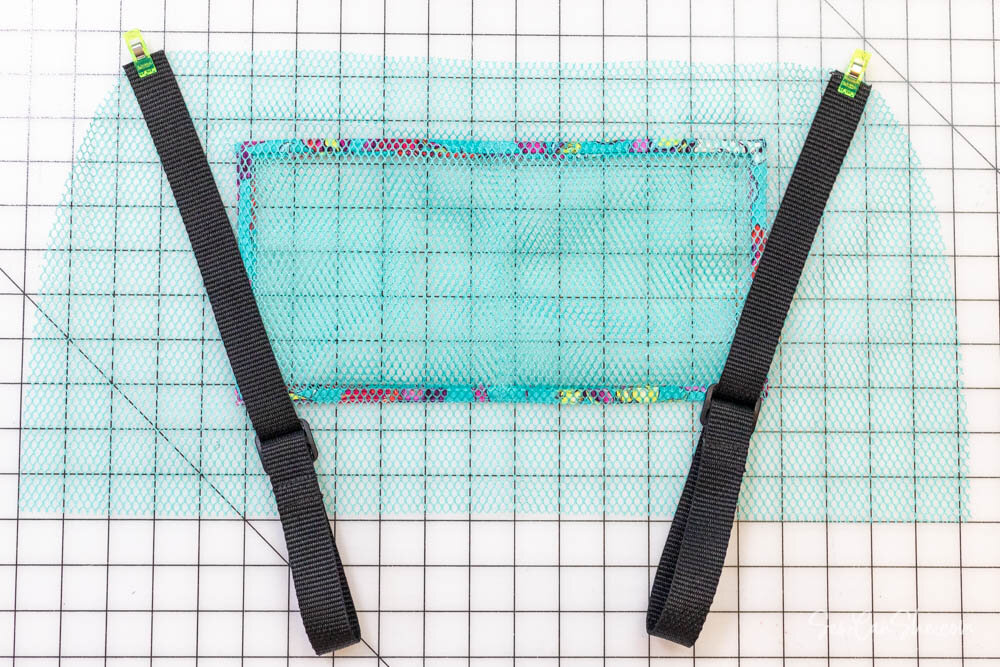
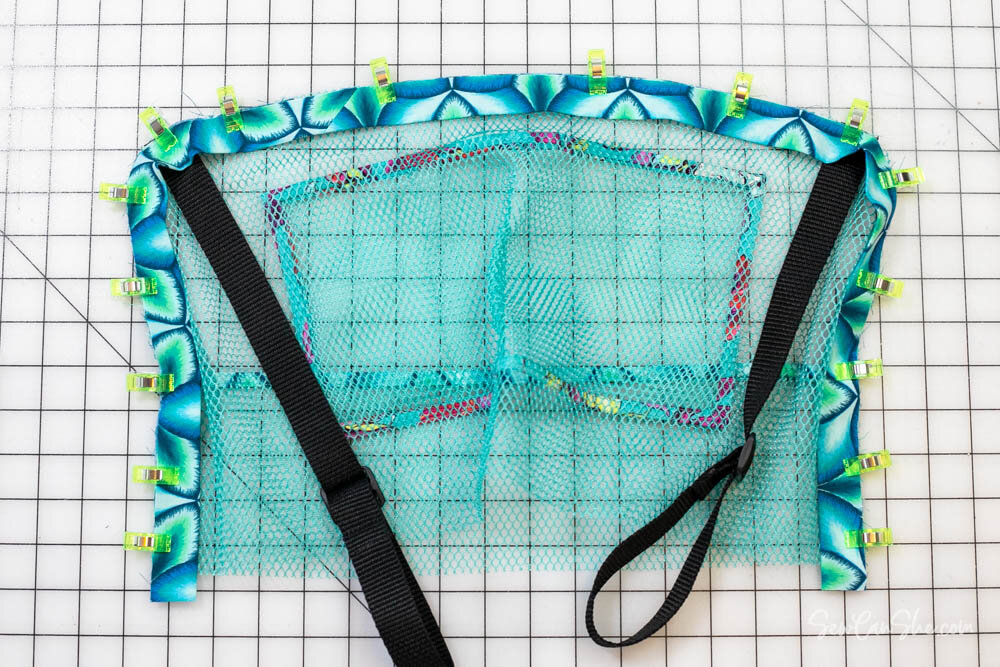
5. Pin or clip the ends of the webbing straps to the corners of the back piece.
The webbing straps should be sewn to the back (not the front) of the organizer. For easiest adjustment later, place the top side of the triglide slides against the mesh back piece not.
Note: I altered my straps later, making them much shorter. Your straps should not be as long as the ones shown in the photo above.

6. Sew the straps to the corners of the organizer with a 1/4’’ seam allowance.
Sew the Front and Back of the Organizer Together
1. Lay the back of the organizer on your workspace, front side facing up. Lay the 4 1/2’’ x 15 3/4’’ front piece on top, also facing up with the lower raw edges aligned.
Clip the side edges together. You will need to fold the back piece a bit since the front piece is not as wide as the back. Don’t worry about that.
2. Sew the side edges with a 1/4’’ seam allowance.
Bind Around the Top and Sides of the Organizer
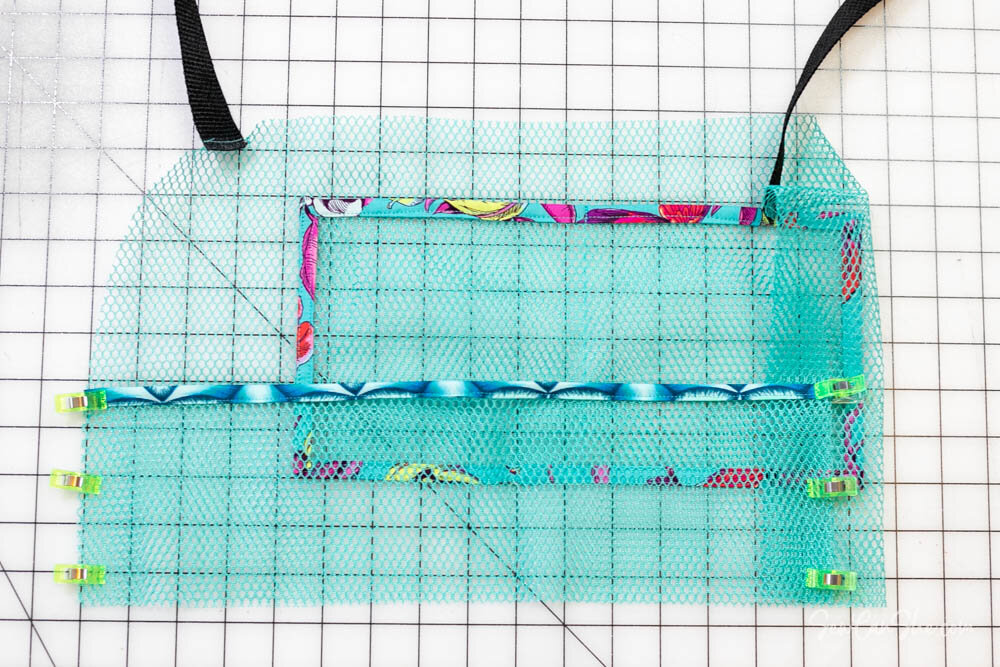
1. Turn the organizer over to the back.
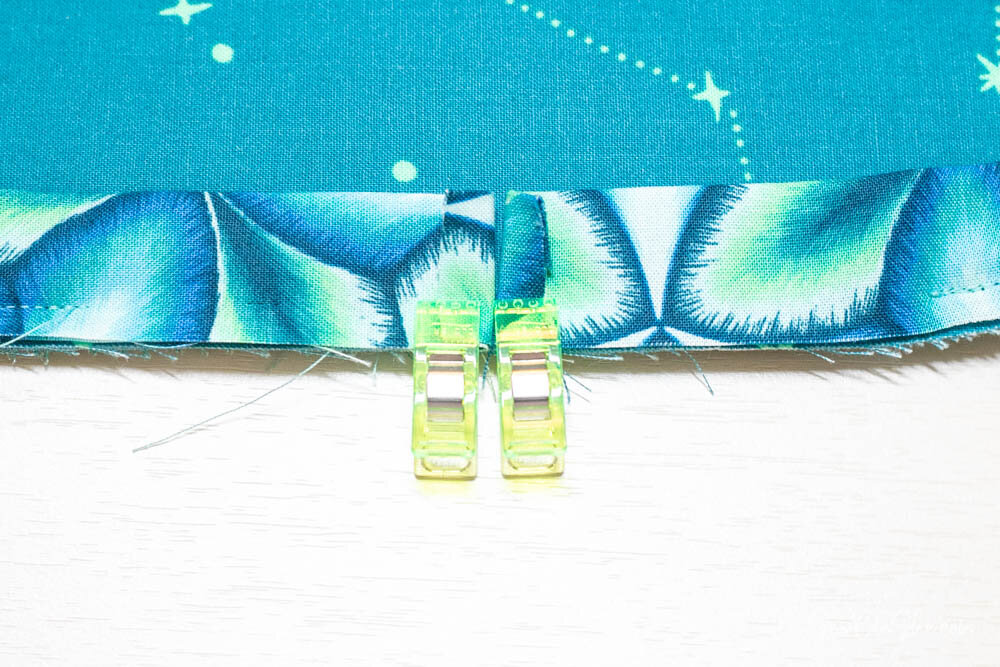
Fold a 38’’ long piece of binding in half lengthwise and press. Clip the binding around the top and side edges. The raw ends of the webbing straps will be in between the mesh and the binding. You should have about 1/2’’ of extra binding at both lower corners.
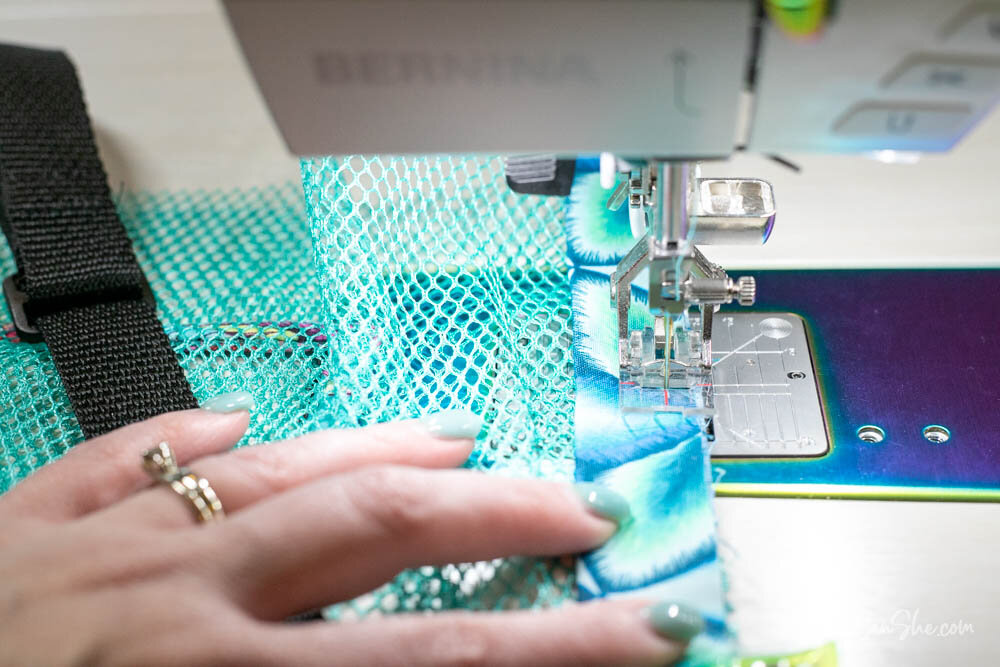
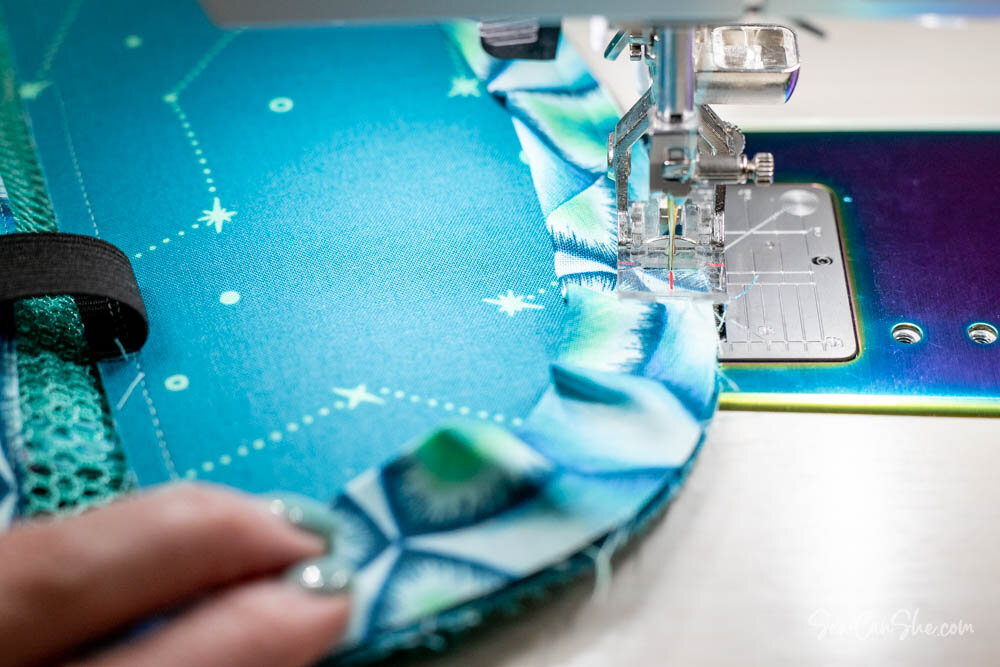
2. Sew the binding to the back of the organizer with a 1/4’’ seam allowance. Go slowly, easing the binding around the curved edges.
3. As before, carefully press the binding away from the mesh. Turn the piece over and press the binding around the raw edges. Use lots of clips to secure it in place.
4. Sew the binding down on the front of the organizer close to the fold.
Trim away the extra binding at the lower corners.
Attach the Mesh Part of the Organizer to the Sturdy Bottom
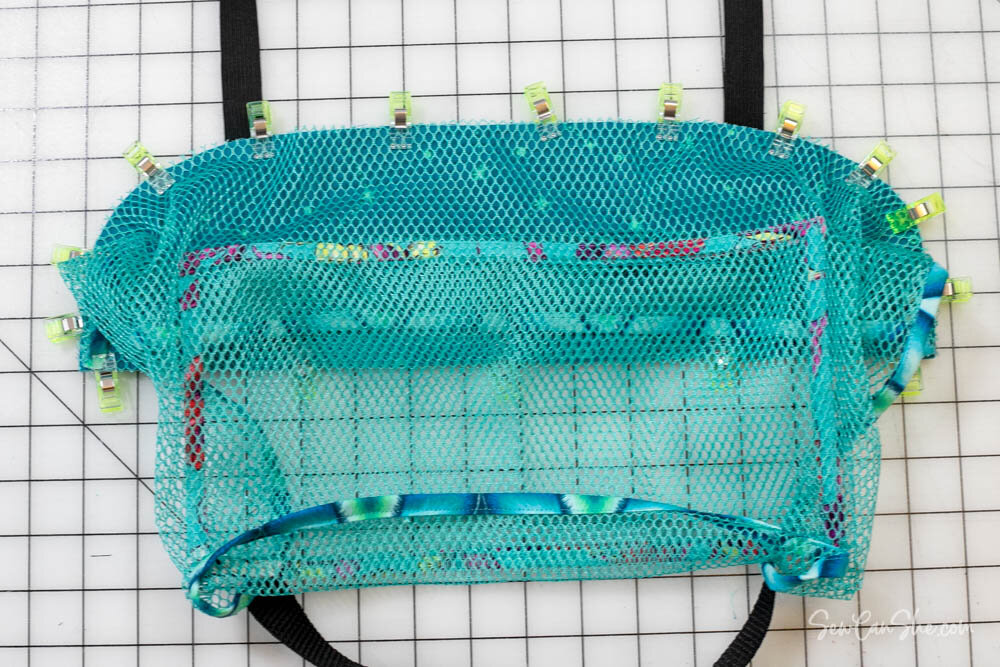
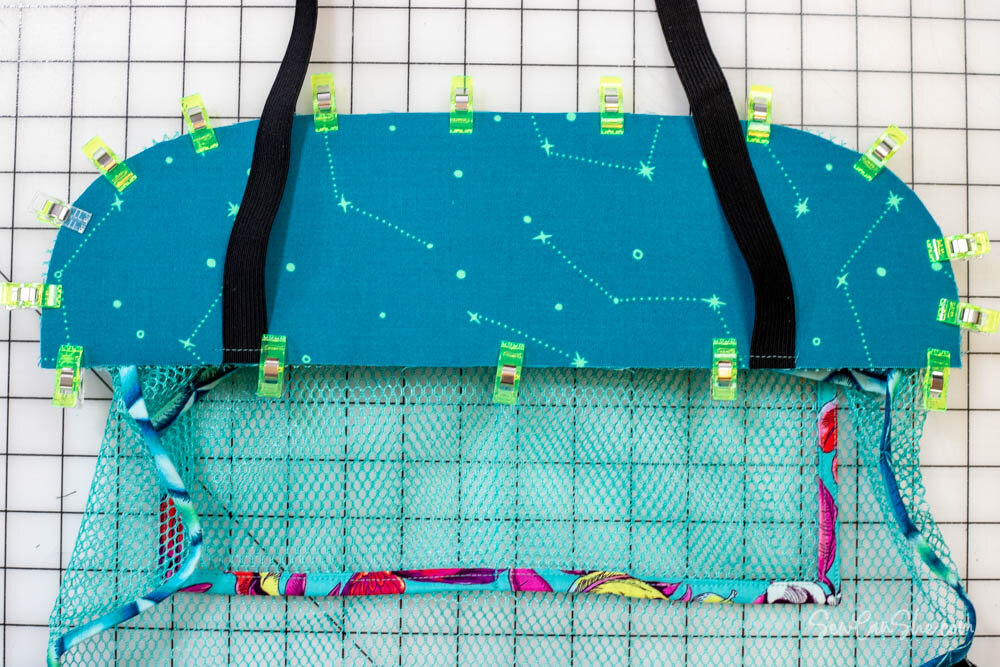
1. Use lots of clips to attach the mesh part of the organizer to the top side of the sturdy bottom. Clip it all the way around.
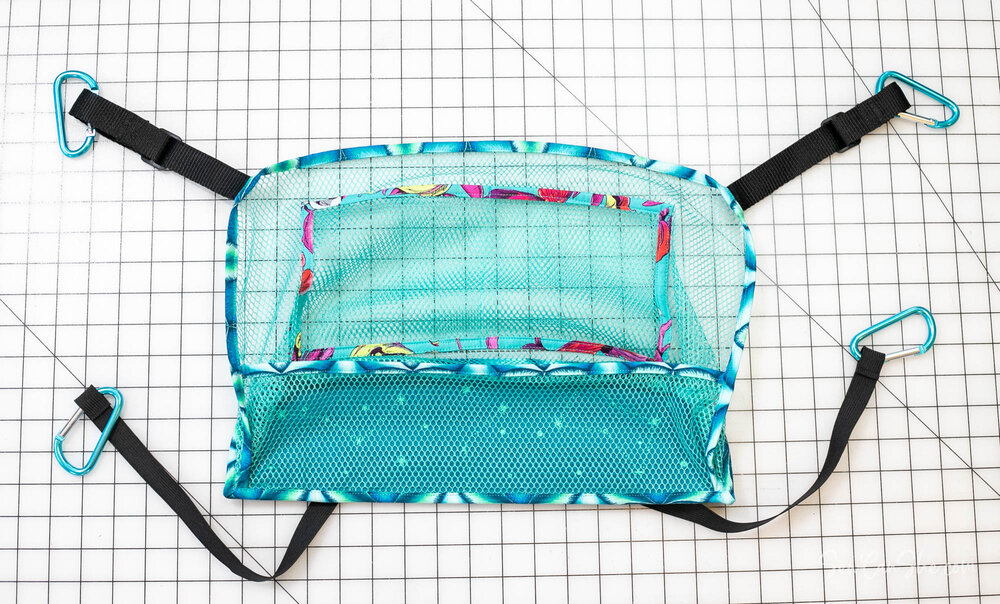
The photo above shows how the organizer looked from the top.
This is how my organizer looked from the bottom.
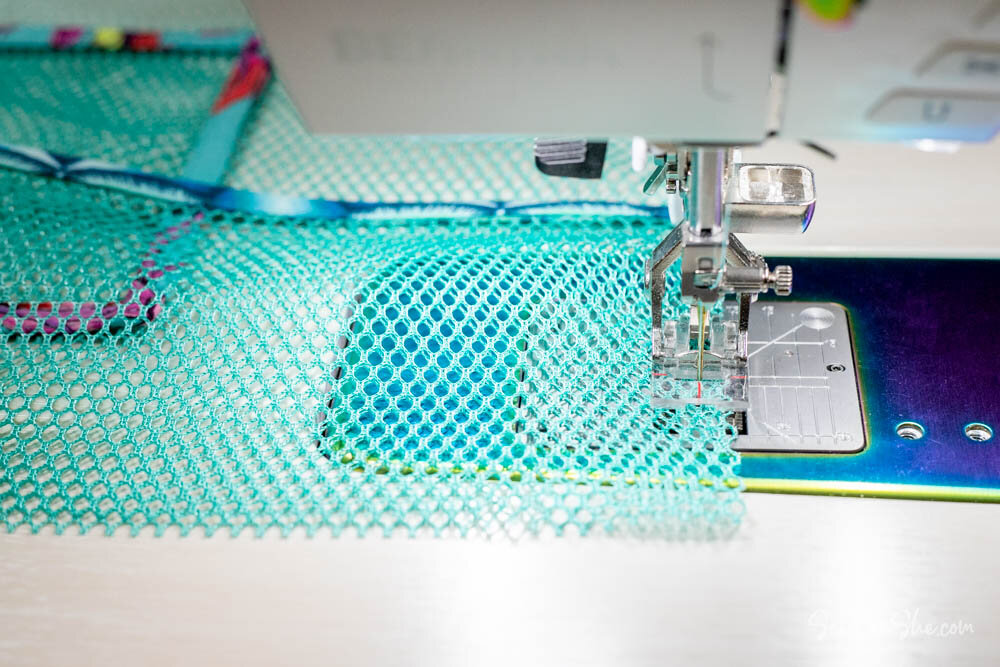
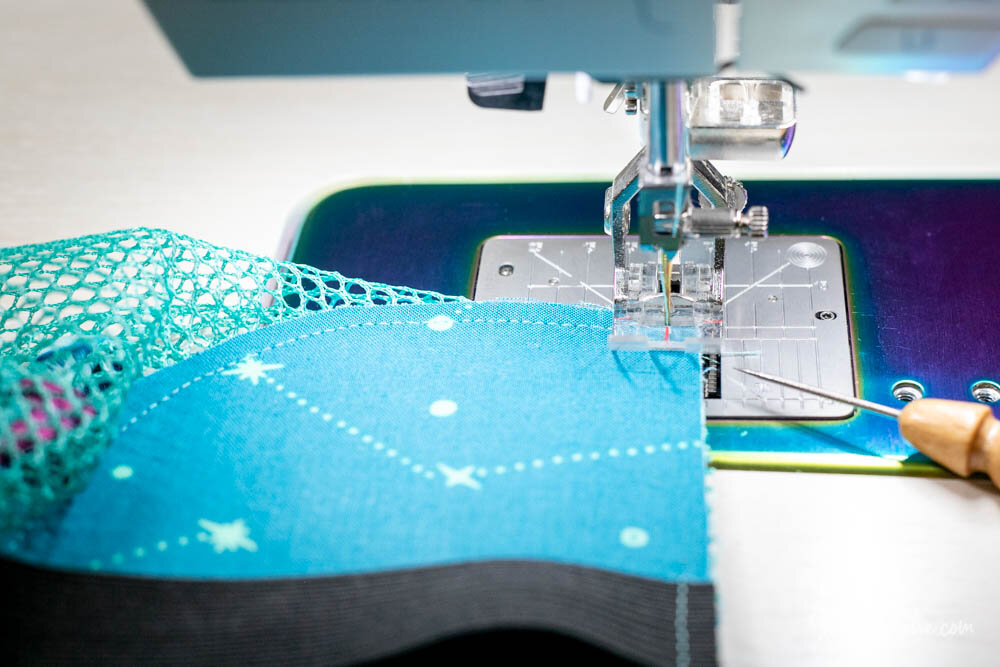
Pro Tip: My mesh had stretched out a bit so the circumference of the mesh was a little bit larger than the circumference of the sturdy bottom. I evened out the bit of extra mesh using my clips and decided to sew with the bottom facing up so that the mesh would be against the feed dogs. The feed dogs would slowly gather in the extra mesh and make it all fit.
If the mesh part of your organizer is the exact same circumference as the bottom (or even needs to stretch a bit to fit) then you may choose to sew from either side.
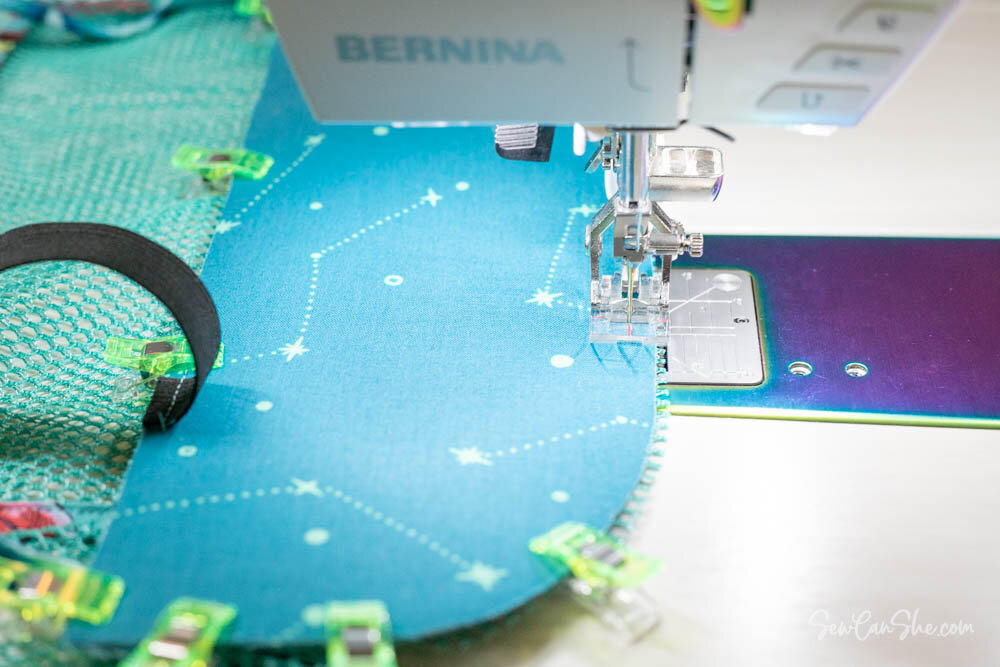
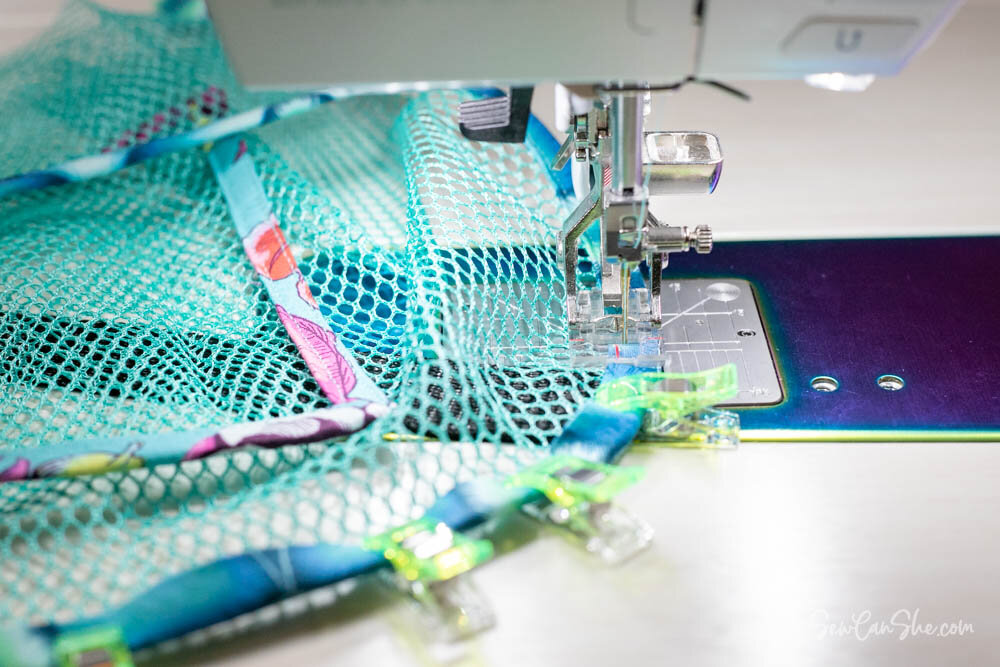
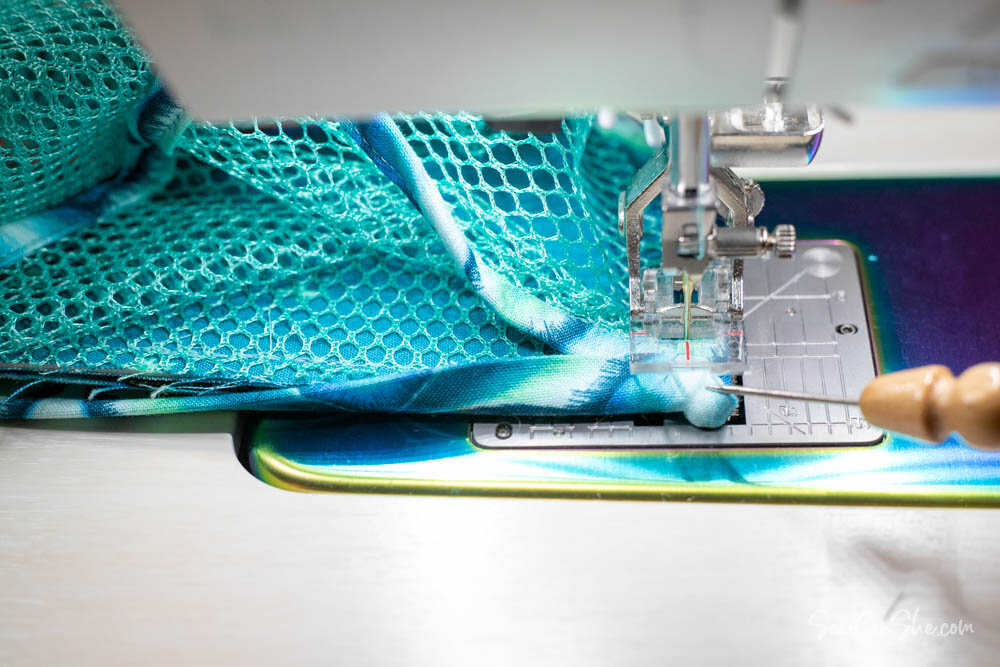
2. Carefully sew the the mesh top of the organizer to the sturdy bottom with a 1/4’’ seam allowance.
3. Stop with your needle down 1/4’’ away from each corner. Pivot, straighten out the layers, and continue sewing with a 1/4’’ seam allowance.
Bind the Bottom of the Organizer
1. The curved part of the sturdy bottom is the back, so begin attaching your binding there. Since sewing binding to something sturdy is easier than sewing it to mesh fabric, I did not use clips all the way around.
2. Begin sewing the binding to the bottom edge with a 1/4’’ seam allowance, leaving a tail at least 6’’ long at the start. Work slowly around the corners.
3. Join the binding ends and finish sewing to the bottom piece as you did on the mesh pocket.
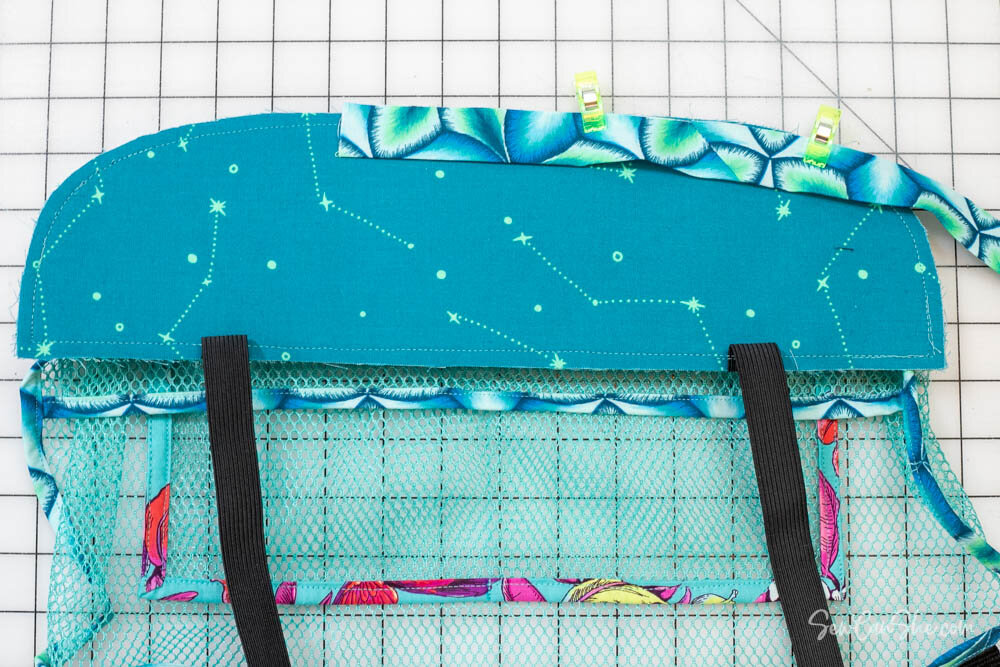
4. Wrap the binding around to the top edge of the bottom, over the mesh. Stitch in place close to the fold.
Attach the carabiners to the ends of the webbing and elastic straps so you can secure the organizer to your car!
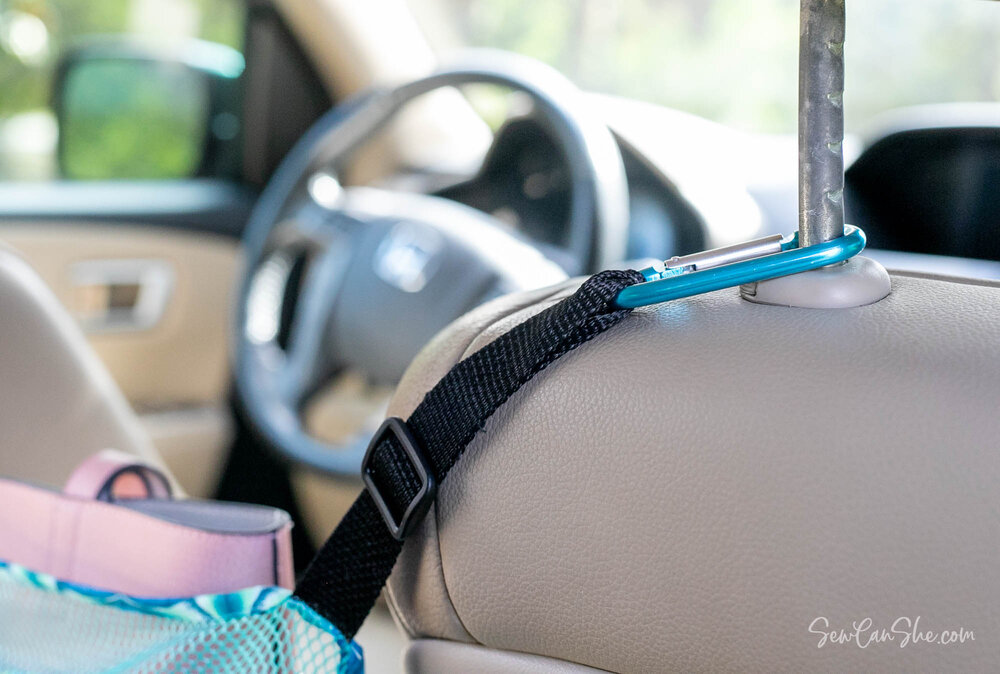
Clip the upper carabiners to the posts on the head rests. Adjust the length of the straps using the triglide slides.
If the seats are not placed in the same position in your car, then the straps may be adjusted to different lengths to keep the organizer level.
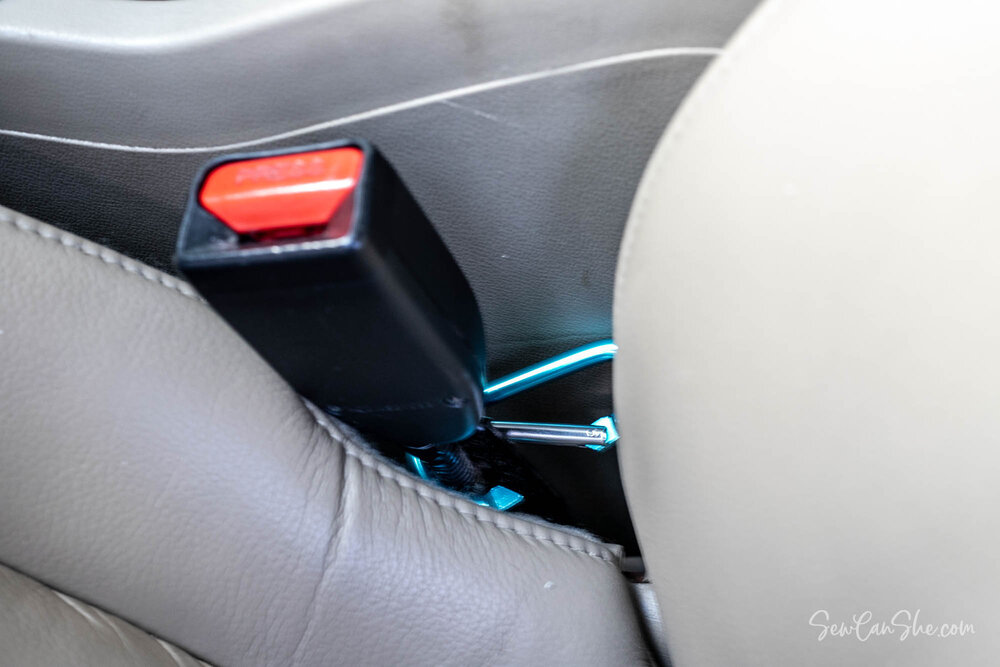
Stretch the lower elasticized straps down to clip around or over the seat belt posts.
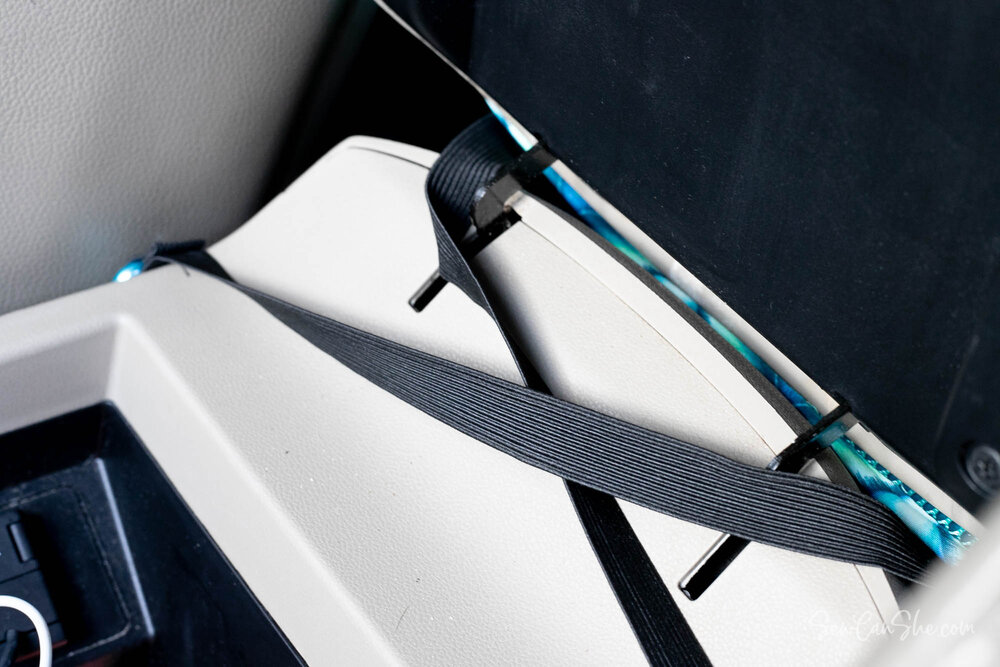
If you would rather secure the lower straps inside the car’s center console:
Cut the elastic straps shorter, as needed.
Attach velcro to the ends of the elastic straps.
As usual, I love to see the things that you make using my free sewing patterns and tutorials! Please post a picture to Instagram and tag me @sewcanshe so I can take a look.
Don’t miss these other Easy Sewing Projects to Organize your Car!
Happy sewing,
